I was scrolling thru Pintrest the other day and found a very unique eyeshadow look using the Anastasia Beverly Hills Modern Renaissance pallet and I felt inspired to recreate the look using a Wet N Wild pallet that I had recently picked up.
So here is the original look that I found, and you can see it on my Pintrest board here.
And below is what I created. Please know that this is not a dupe for ABH Modern Renaissance pallet, just a look inspired by the original look.
- Wet N Wild Floral Value pallet
- Maybelline The Nudes pallet
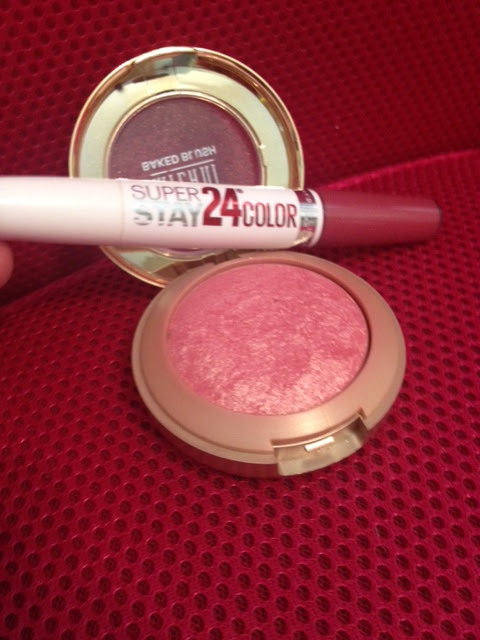
- Milani Baked Blush in Dolce Pink
- Nyx single shadow in I have a headache (or your own matte brow bone highlight)
- Setting spray
- Mascara
- Lashes (if you prefer)
- Eyeshadow shields (unless you want to wait to do your foundation after your shadows)
- Lipstick Maybelline Superstay 24H color in Infinite Petal
- Foundation, bronzer, highlight, contour, powder all of your choice
- I first did my foundation and eyebrows so I had that all finished up. I used the Nyx single eyeshadow in "I have a headache" for my brow bone highlight. Its just a matte yellowish white color that I feel suits my skin tone. But you can skip this part or use the lightest shade (labeled "Base") in the Wet N Wild pallet because it is also a matte color.
- This was the time that I put on the shadow shields, because the Wet N Wild pallet has quite a bit of fallout from it.
- Next up I pulled out the Maybelline Nudes pallet and used the matte taupe color, second from the left on the top row, in my upper crease area. I used this to be somewhat of a transition color so I didn't go from pink to pale yellow brow bone.
- Then I went for the pink color in the Floral Value pallet and took a fluffy crease brush and swiped that thru my crease. You really need to have a fluffy brush for this. You want that pink to be diffused quite a bit.
- I went into the same pink color but with a flat shader brush and packed the color heavily on my outer V of my eye.
- I got out my setting spray and you can use water if you don't have the spray. I sprayed my flat shader brush (a clean one) and put it into that top left white shadow from the Nudes pallet. It is very shimmery and looks beautiful and highly pigmented when its been wet down. I put that on the first 2/3rds of my lid and then took my other flat brush from the pink and applied a little pink just on the border of the white. You are wanting to make these two colors blend together and by packing them on each other will allow this to happen. Sometimes it takes a couple applications of back and forth with pink and white to get them to blend a little better.
- Afterward, I took the taupe color again and ran it under my lower lash line and then took the pink and put it right on top of that.
- I used the white shimmery color to highlight my inner corner, threw on some black liquid liner, false lashes, some mascara and that was it for the eyes.
- I applied a pinkish colored blush very lightly to my cheeks to compliment the eyes.
- I used a (light hand application) mauve pink color on my lips to keep it toned down since I wanted the focus to be on the eyeshadows.
And that's all folks!! It is done. I loved how it turned out and I received so many compliments on the look. I love doing looks that are inspired by high end brands but using drugstore products. Even though I adore my high end makeup collection, I am an even bigger sucker for the drugstore cosmetics. If you have a high end look you would like me to re-create using drugstore products, let me know in the comment section below. I love love love to recreate looks.
That's all I have for today, until next time, take care.
-Kim


No comments:
Post a Comment